For this project we are going to be using an Open Source project called Logitech Media Server, there is a Docker install, Pi install, and Kubernetes option. The project is open source and privacy forward, so by default everything is done locally so you can control your own data. You can either stream media such as music or audio books to your tablets/phone/computer you can also stream music to your smart speakers if you have some. The Github for this project is here the code has been released under the GPLv3, so even though this used to be owned by Logitech for their systems, they have released this server as open source for the community and no longer make the Squeezebox server this was based on.
Rating
- Difficulty of Project: Intermediate
- Cost:
- Recommendation skill level: Intermediate
- Time commitment: 1-2 Hours depending on setup choice
Skills and assumed supplies
- A Server with either Docker or Kubernetes installed if you want to use containers
- If you choose to use a Pi you'll need one of those with power cord
- Ability to use the Command Prompt
NOTE: Need a refresh? Check out my YouTube playlist on how to use the Command Prompt
Supplies and costs
- If you do it on your Server with Virtualization, Nothing!
- Optional: Raspberry Pi including power cord, Ethernet cable, and SD card
Logitech Media Server
How to set up Logitech Media Server using Docker
First we need to login to our server, you can do this on SSH if you want, or by going over to your server and logging in if it has a monitor. If you need a refresh on how to SSH into a server I made a video for you! It's here. Then we can run the given Docker command from the documentation. You'll need to scroll down to the portion that is for container installs.
docker run -it \
                    -v "/PATH":"/config":rw \
                    -v "/PATH":"/music":ro \
                    -v "/PATH":"/playlist":rw \
                    -v "/etc/localtime":"/etc/localtime":ro \
                    -v "/etc/timezone":"/etc/timezone":ro \
                    -p 9000:9000/tcp \
                    -p 9090:9090/tcp \
                    -p 3483:3483/tcp \
                    -p 3483:3483/udp \
                    lmscommunity/logitechmediaserver
NOTE: You should change PATH so that it matches your machine. Some examples might be /LMSconfig or /LMSplaylist. Because this is where it saves things like the configuration files, playlists and finds your music, it's important to know where everything is on your machine.
How to set up Logitech Media Server using Kubernetes
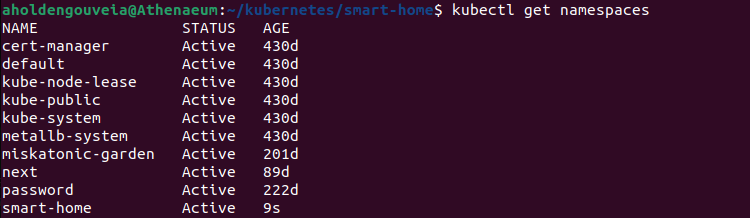
If you haven't already set up your namespace, I recommend you do that first. I have a sample recipe for that here that will create a namespace called smart-home, you can reference how to use kubectl if you want to refresher on how to set that up. Check to make sure your namespace is up by doingget namespaces
Next we need to setup our YAML file for Logitech Media Server, a sample is here, you can use this but you MUST change the location of your path. I have a comment in there on where to change the YAML, and some notes about how the YAML is put together, but you have to make sure you have a path to where you want your information stored.
If you need a reminder on how to use kubectl please go check out my kubectl guide here and make sure to run in the correct directory
- You should navigate to your kubernetes directory first, making sure to go to the folder that has your YAML files.
cd ~/kubernetes/smarthome
- Edit your Logitech Media Server YAML, you can use my sample as your base if you like.
nano LogitechMediaServer.yaml
- Apply your YAML so that the changes will start
kubectl apply -f LogitechMediaServer.yaml
- Check to see if your pod is up, make sure to use the correct name space! If your's isn't smart-home make sure to change that in the command to match
kubectl get pods -n smart-home
- Last we need to check services to see that everything is running and to get our IP address of the pod
kubectl get services -n smart-home

How to set up Logitech Media Server using a Raspberry Pi
You'll need a Pi, power supply, SD card and an ethernet cable. You will need to know how to see the IP address of your Pi, this can be done in several ways, option 1 is logging into your router and checking the address of the Pi, option 2 is logging into the Pi and runninghostname -IYou're likely to see the address as either
192.168.X.Xor
10.10.X.X
You'll first want to get your pi ready, to do that you need to copy the raspbian OS onto your SD card using something like Etcher. You'll download the Etcher program, download Raspbian and then put Raspbian on your SD card. More details can be found at Raspberry Pi documentation this includes links to videos, troubleshooting guides and more.
After you have your pi up and running with Raspbian, you should login to your pi either through SSH or with a monitor so we can do the next steps. There is a guide for Installing Logitech Media Server on a Pi here, and I will tell you the basic commands. If you need a refresher on the command prompt, make sure watch my Linux FAQ playlist!
Next you'll need to install the server, I'm assuming you have some music or audio books on your pi, but if you don't the guide linked above will also talk you through how to add a hard drive to your pi.
The documentation for the Logitech Media Server is Here for Raspbian install.
sudo apt-get install -y libsox-fmt-all
sudo apt-get install libio-socket-ssl-perl
sudo apt-get install -y libsox-fmt-all libflac-devmkdir -p /sources
cd /sources
sudo wget -O logitechmediaserver_all.deb $(wget -q -O - "http://www.mysqueezebox.com/update/?version=7.9.2&revision=1&geturl=1&os=deb")
sudo dpkg -i logitechmediaserver_all.deb
- Restart your pi and you should have the media server up and running.
How to use Logitech Media Server
First we need to open up the dashboard. You'll need to go to the IP address of your Raspberry Pi, or container in your web browser.
http://IPaddress:9000
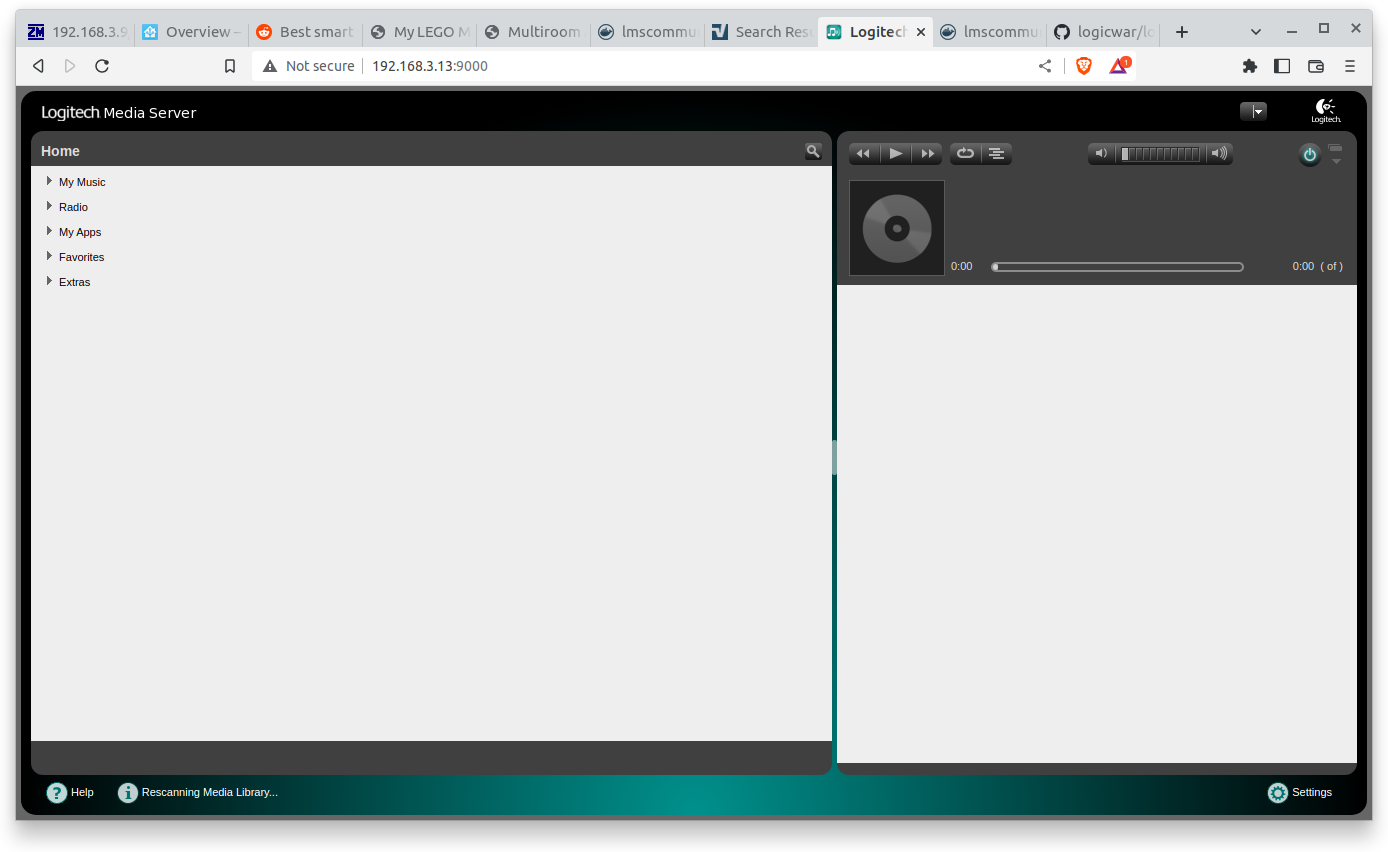
Now the next think you'll need to do is find your music. There are some options to add in radio stations if you want, but if you have legal copies of your CDs on your server for example, you can find those and add them to the LMS here. More info about legal copies of CDs you own can be found here. You'll go into the settings, and point to the folder(s) that have your music. In my case you can see I've pointed it at my music, audiobooks and other audio files.
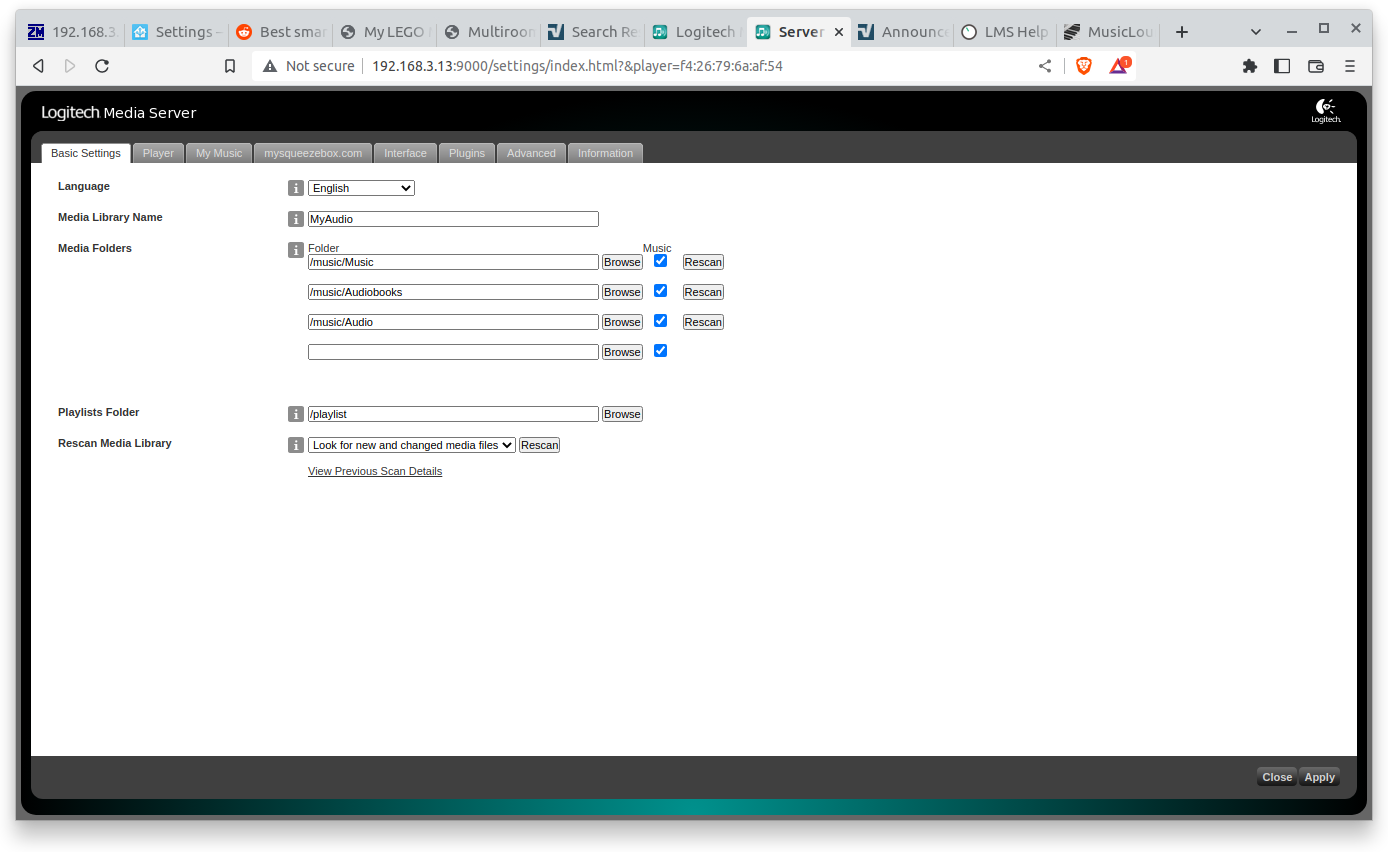
Now that your server is setup, it's time to add music, once you go to the settings to point at your audio files, you can add music to the system.
Linux Squeezelite install
Squeezelite is something you can install on your android tablet or phone, or your linux laptop as a way to be able to play music. Remember, the server will send music but not play it, you MUST have something with a speaker and player to be able to play your music.To install squeezebox on Linux Ubuntu will pull up the terminal and do the following steps
- To install Squeezelite
sudo apt-get -y install squeezelite
- To get the player up and running
squeezelite -s IPADDRESS:9000
- NOTE: It looks like nothing is happening! But do not worry, this is normal.
But when you go to Players in the Logitech Media Server settings you should see an option for choosing the player.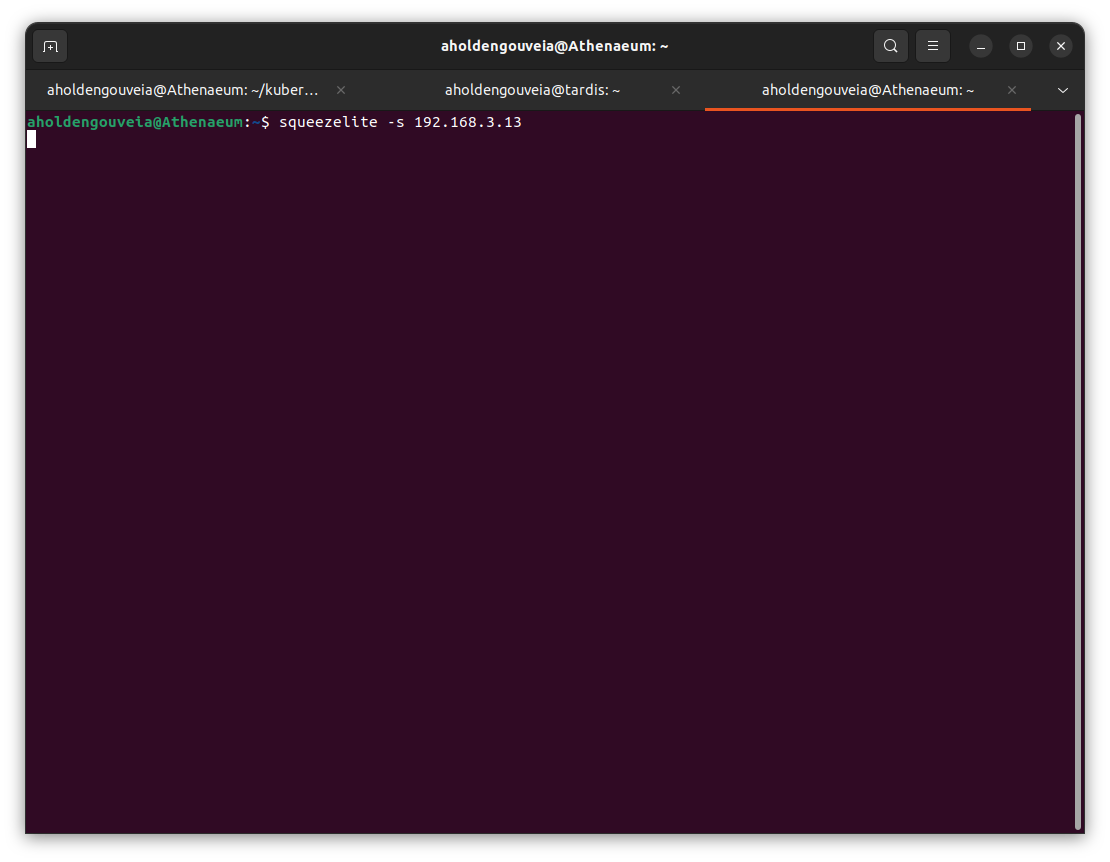
Android Phone/Tablet Squeezelite install
You can also install this on your Android Phone, if you want to play music on your android phone or tablet.- Go to the Android store and install Termux
- Next you'll open the Termux app and say
apt-get update
(Issues? Troubleshooting information is here I Had to follow this to change repositories instructions because I ran into an on my Android Phone where I got an error that said there was something wrong with the repository. - Now you can install squeezelite on your android by running
apt install squeezelite
- Then you can
squeezelite -s IPADDRESS:9000
to get the player up and running on your phone/tablet. - It will look like the same nothing is happening that it does on the computer, but if you go to your Home Assistant or Logitech Media Server IP address you should see the player as an option. Again, I recommend a rename of players so they don't get confused.
Home Assistant Integration using Home Assistant Community Store (HACS)
One thing you can do to make this system more a part of your home is to integrate with Home Assistant if you have an instance up and running. The official page on this integration is here. But I will warn you, I did not find it straightforward how to do this, so I've included a lot more details below.
- Start home assistant by going to the web portal
http://IPADDRESS:8123
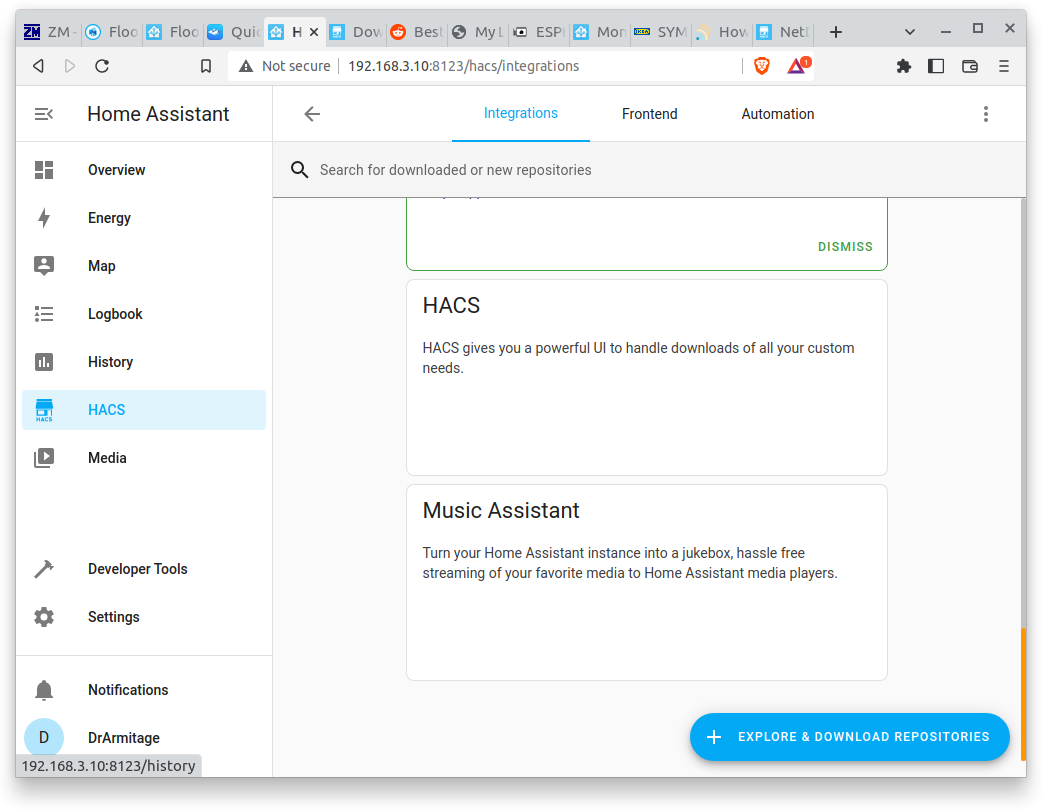
- Make sure you have HACS installed, if you don't follow a tutorial to install the Home Assistant Community Store(HACS)
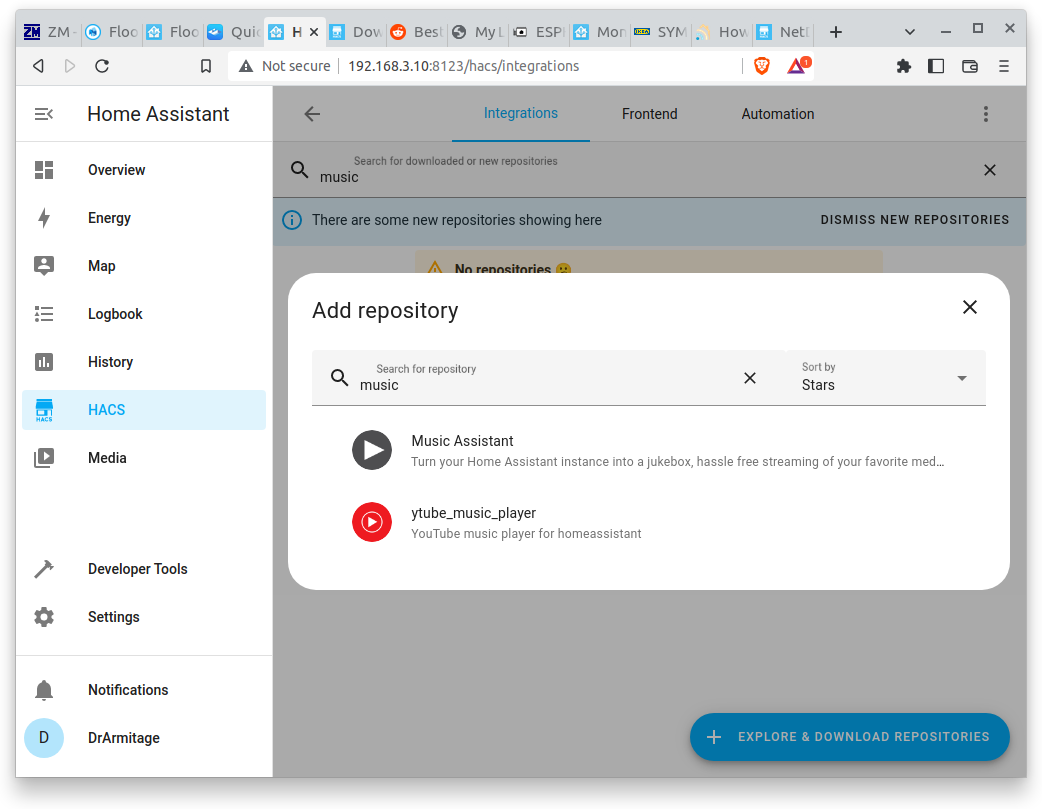
- Go to the HACS section of your home assistant and click on "Explore and get repositories." Find and download the repository called "Music Assistant"
- Restart your Home Assistant
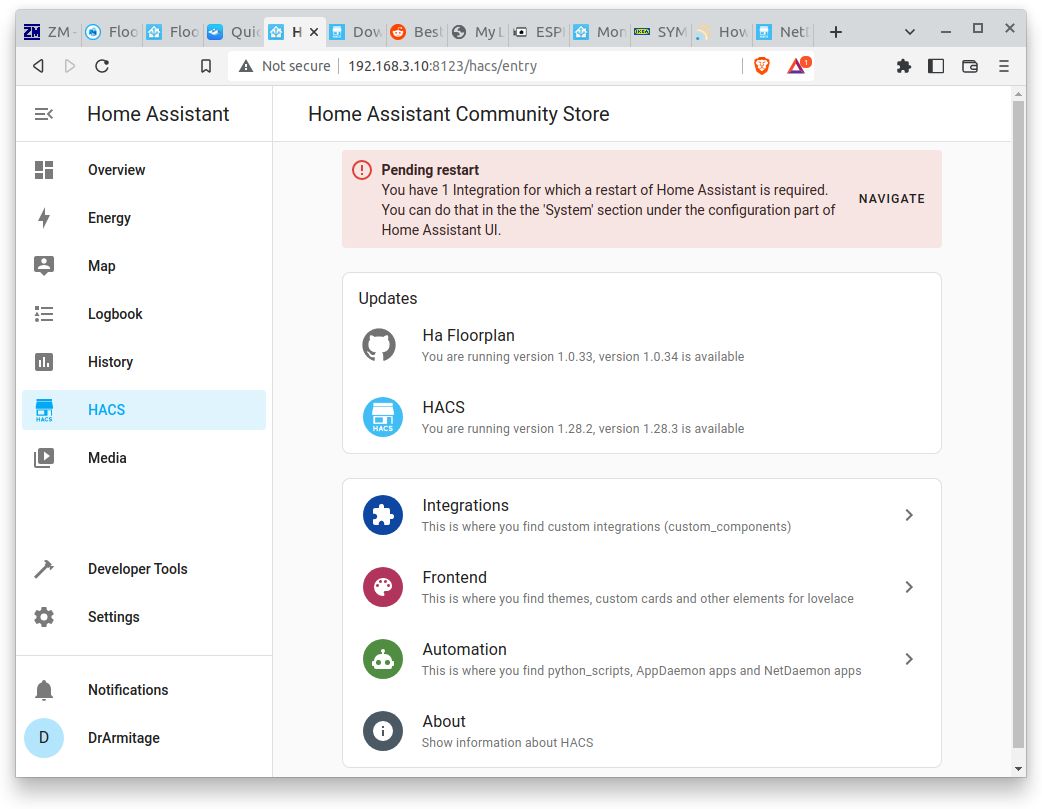
- Check to make sure your Music assistant downloaded correctly by going to the HACS section of the menu on the left of the web portal. (You can see how it looks different then before)
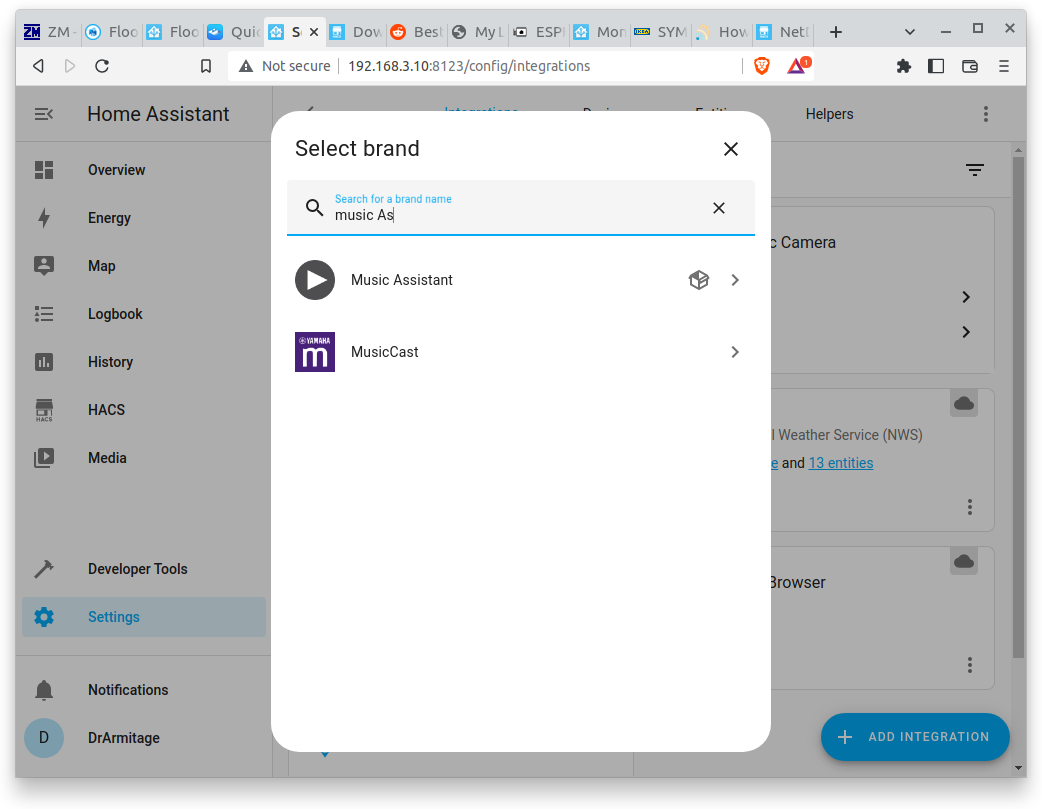
- Find integration from menu on the left Settings--> Add Integrations-->Search-->Music Assistant
- Check Home Assistant dashboard to make sure it's running, if you added a player (Like Squeezelite) you should see that running here.
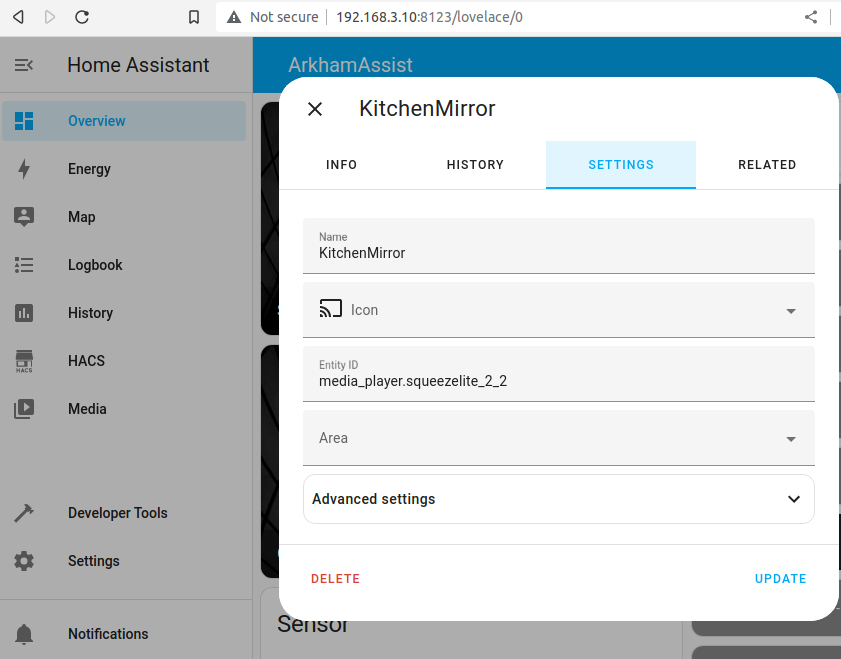
- Go to your dashboard
http://IPADDRESS:8123/lovelace/0
- Find one of your players such as a computer, Android phone or tablet with one of the squeezelite players installed following the directions from above

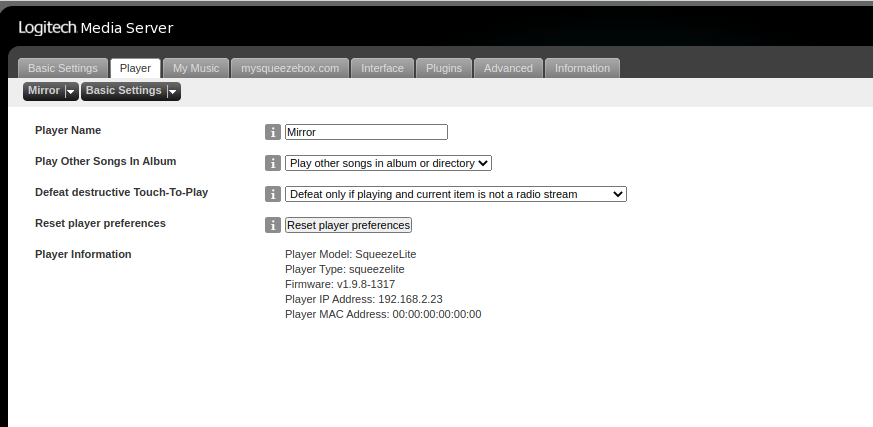
- Rename your players so it's less confusing by clicking on the three dots next to the player, you can see them in the image above on the right of "KitchenMirror"
Recommended Upgrades
- Reorganize your Music. The organization and tagging system that was here by default left something to be desired in my opinion. So it would be worth your time to make sure all your music is relatively well organized into band names, or musicians or whatever makes the most sense to you.
- Try the Material Skin interface for the webportal. It's pretty easy to setup, you'll go into the settings on your Logitech Media Server, then enable the "Material Skin" plugin, restart the server, and then instead of going to
http://IPaddress:9000
You'll go tohttp://IPaddress:9000/material/
- Some of the real power in this system comes from the tagging of music, I used EasyTag which it turns out is a bit of a misnomer because it wasn't exactly easy. The install was pretty easy, but the tagging was a little confusing. You'll need to install the program, and then it can do some auto tagging for you, or you can go tag your collection, but you have to make sure you save your tags before it is ready. Do not forget to save your tags on EVERY piece of music you update!