For this project we are going to be using an Open Source project called Home Assistant, there is a Docker install, pi install, and hardware you can buy from them as options. The project is open source and privacy forward, so by default everything is done locally so you can control your own data.
Rating
- Difficulty of Project: Intermediate
- Cost:
- Recommendation skill level: Intermediate
- Time commitment: 1-2 Hours depending on setup choice
Skills and assumed supplies
- A Server
- Either Docker or Kubernetes on your Server
- If you choose to use a Pi you'll need one of those
- Ability to use the command prompt
NOTE: Need a refresh? Check out my YouTube playlist on how to use the Command Prompt
Supplies and costs
- If you do it on your Server, Nothing!
- Optional: Raspberry Pi including power cord, Ethernet cable, and SD card
- Optional: Buy their hardware with this already set up
Home Assistant
Home Assistant is an open source project where you can integrate lots of devices and information into one place so you can see a ton of information about your home. A great example is their Demo of a fully featured home assistant setup showing things like energy distribution of a home, cameras, lighting, and even have integrated music. One of the things that makes this project so interesting is that anyone can develop for it! So there is a huge library of things we can add, devices we can work with, and even have the option to create our own things if we want to.The way home assistant functions is to have a dashboard that is the base, then we can add things to it as we want them. So for example, if we wanted to track our energy usage in our home, we can use one of the energy integrations on the base configuration. The base configuration is what we'll be setting up here, and then I'll have some suggested easy integrations in the "Suggested Upgrades" section at the bottom of this page. And some guides on some of the more involved upgrades such as adding in a floor plan with control for lights, cameras and fans.
How to set up Home Assistant using Docker
First we need to login to our server. Then we can run the given Docker command from the documentation You'll need to scroll down to the portion that is for container installs.
docker run -d
                    --name homeassistant
                    --privileged
                    --restart=unless-stopped
                    -e TZ='America/New_York'
                    -v /PATH_TO_YOUR_CONFIG:/config
                    --network=host
                    ghcr.io/home-assistant/home-assistant:stable
NOTE: You should change PATH portion of the config so that it matches your server, for example "/home/user/Homeassistant:/config", you should also change your time zone if you are not on the East Coast of the US.
How to set up Home Assistant using Kubernetes
If you haven't already set up your namespace, I recommend you do that first. I have a sample recipe for that here that will create a namespace called smart-home, you can reference how to use kubectl if you want to refresh on how to set that up. Check to make sure your namespace is up by doingget namespaces
Next we need to setup our YAML file for Home Assistant, a sample is here, you can use this but you MUST change the location of your storage. I have a comment in there on where to change the YAML, and some notes about how the YAML is put together, but you have to make sure you have a path to where you want your information stored. If you update nothing else in that file, you still HAVE to update the path in BOTH places on the persistent volume areas.
If you need a reminder on how to use kubectl please go check out my kubectl guide here and make sure to run in the correct directory
- You should navigate to your kubernetes directory first, making sure to go to the folder that has your YAML files.
cd ~/kubernetes/smarthome
- Edit your Home Assistant YAML, you can use my sample as your base if you like.
nano home-assistant.yaml
- Apply your YAML so that the changes will start
kubectl apply -f home-assistant.yaml
- Check to see if your pod is up, make sure to use the correct name space! If your's isn't smart-home make sure to change that in the command to match
kubectl get pods -n smart-home
- Last we need to check services to see that everything is running and to get our IP address of the pod
kubectl get services -n smart-home
How to set up Home Assistant using a Raspberry Pi
There is actually a great guide for installing on a Raspberry Pi right in their documentation. You'll need a Pi, power supply, SD card and an ethernet cable. The documentation will take you through how to put the Operating System on the SD card, and then you can start up your Pi and get going. You will need to know how to see the IP address of your Pi, this can be done in several ways, option 1 is logging into your router and checking the address of the Pi, option 2 is logging into the Pi and runninghostname -IYou're likely to see the address as either
192.168.X.Xor
10.10.X.X
No install, just buy
One option you can do if none of the above are appealing to you, is buy their hardware with home assistant pre-installed. You do not have to, but you can if you wish. It is still the open source version of home assistant, so nothing is changing in the code, it's just a way to get setup very quickly by spending money instead of time. As of October 2022 they are doing pre-order for home assistant Yellow and there are three options; standard, kit with power supply, and Kit using Power over Ethernet (PoE). NOTE: This kit is basically a Raspberry Pi with some fun additions like ZigBee, PoE and a nice case. This is still Open Source, it's still using Home Assistant, and it's still community driven, what you're paying for is the convenience of having it come to you already set up and basically ready to go.How to use Home Assistant
First we need to open up the dashboard. You'll need to go to the IP address of your Raspberry Pi, or container in your web browser.http://IPaddress:8123
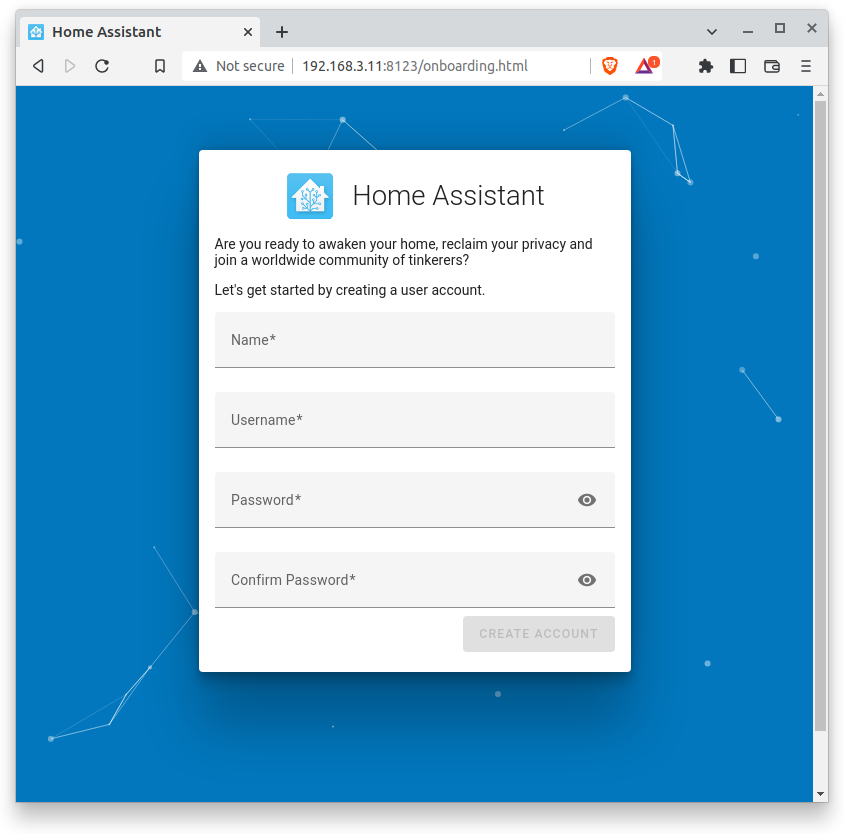
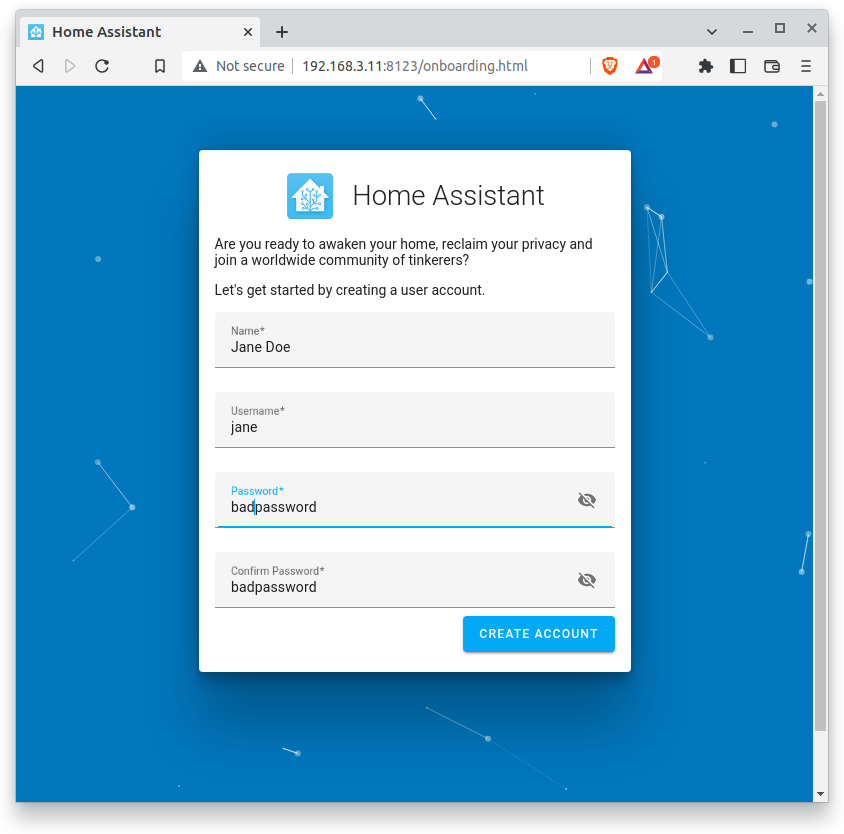
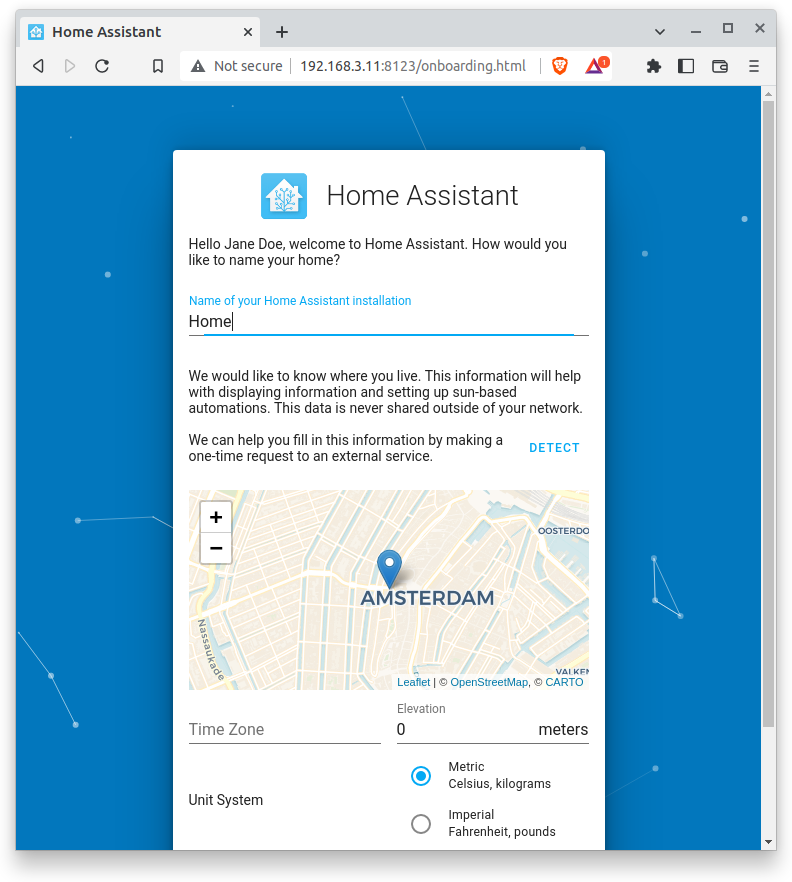
Now, lucky for us the documentation for the setup process is actually pretty good! So we can go to Onboarding, and then follow the steps to get our home assistant located on the map
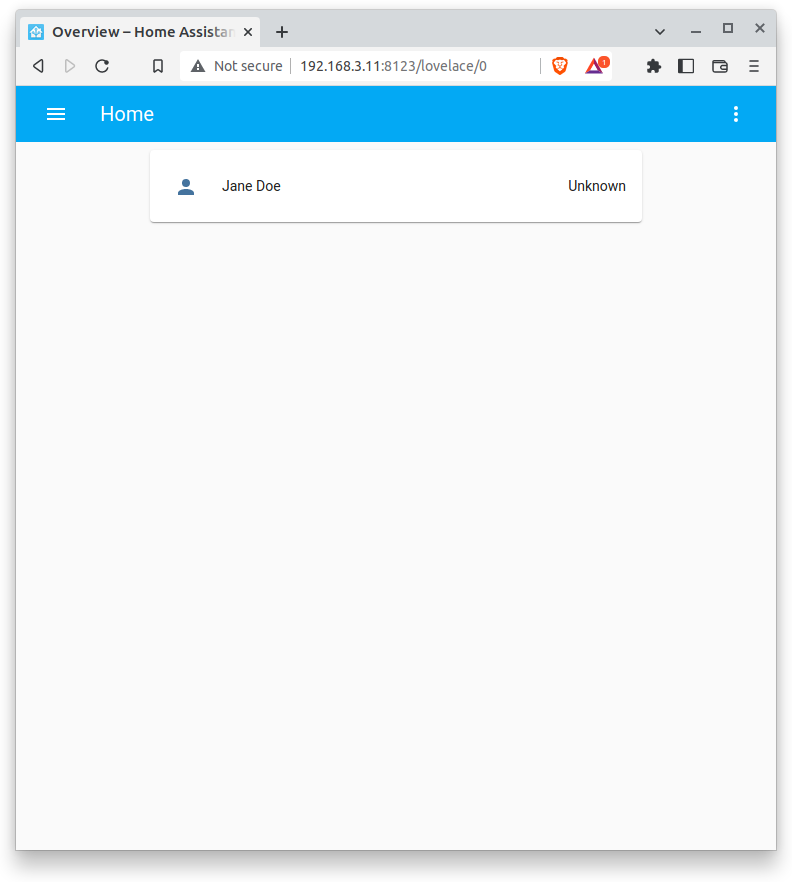
Congratulations! You are now ready to automate your home as you like! This is a vibrant community of people and possibilities. You could get started by doing some home automation like turning lights on at sunset or maybe you would like to add a camera, there are a huge number of examples to choose from, and there is a a forum with even more choices. Have fun!